How to Upload SVG File to Cricut Design Space
If you’re new to Cricut or just starting to explore the world of SVG files, learning how to upload SVG files to Cricut Design Space is a must.
SVG (Scalable Vector Graphics) files are a popular choice for crafters because they can be resized without losing quality, making them perfect for cutting with your Cricut machine. This step-by-step guide will walk you through the process of uploading SVG files to Cricut Design Space.
Step 1: Download Your SVG File
Before you can upload an SVG file to Cricut Design Space, you need to download it to your computer.
There are many sources online where you can find free and paid SVG files, you can download 5 free glass can wraps here.
Once you’ve selected the design you want, download and save it to a location on your computer where you can easily find it, such as your Downloads folder or Desktop.
Step 2: Open Cricut Design Space
To upload your SVG file, you’ll need to open Cricut Design Space. If you haven’t already, download and install Cricut Design Space from the Cricut website. Once installed, open the program and log in to your account.
Step 3: Start a New Project
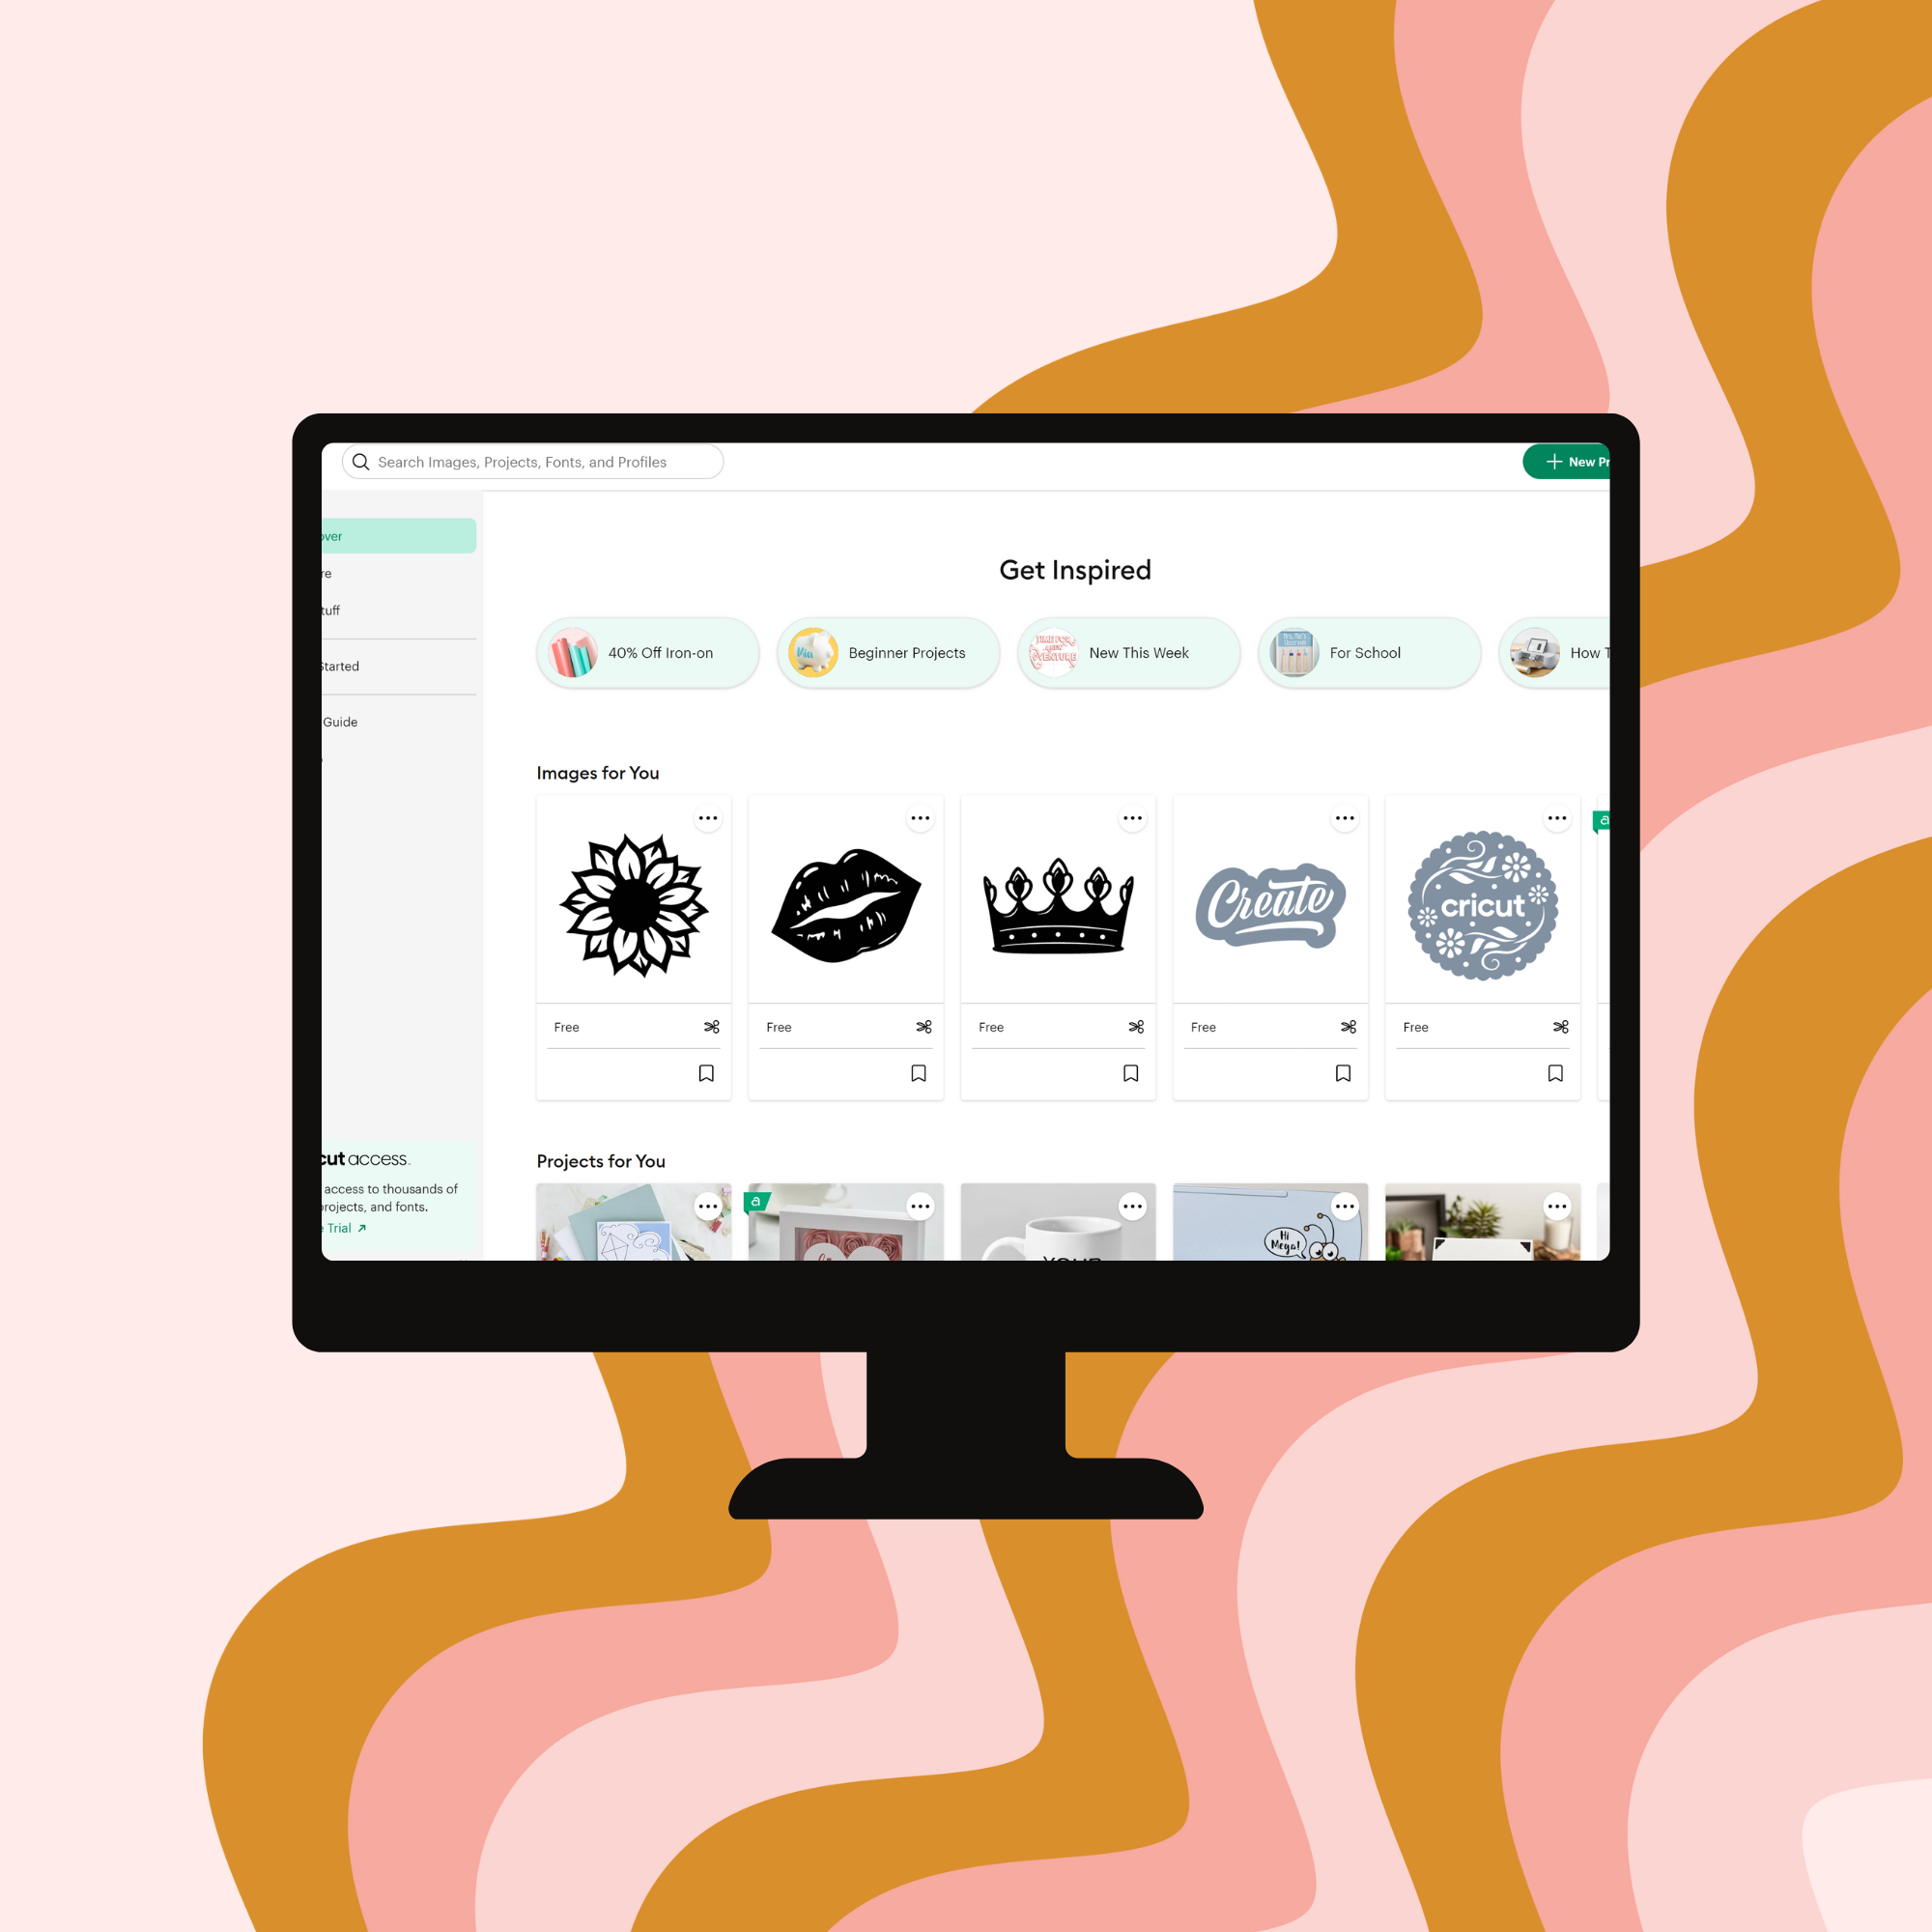
After logging in, you’ll be taken to the Cricut Design Space home screen. Click on the “New Project” button to open a blank canvas. This is where you’ll upload and work with your SVG file.
Step 4: Click the Upload Button
On the left-hand menu, you’ll see an “Upload” button. Click on this button to start the process of uploading your SVG file.
Step 5: Upload Your SVG File
Upload Image: In the Upload tab, click on the “Upload Image” button. This will open a new window where you can browse for your SVG file.
Browse for File: Click “Browse” to open your file explorer. Navigate to the location where you saved your SVG file, select it, and click “Open.”
Name and Tag Your Image: After uploading, you’ll see a preview of your SVG file. Give your file a name and add any relevant tags to help you find it later. Then click “Save.”
Step 6: Insert the SVG File onto Your Canvas
Once your file is saved, it will appear in your “Recently Uploaded Images” section. Select your SVG file by clicking on it, then click “Insert Images” to add it to your canvas.
Step 7: Resize and Adjust Your Design
Now that your SVG file is on your canvas, you can resize and adjust it as needed. Use the corner handles to scale your design up or down. You can also move and rotate the design to fit your project requirements.
Step 8: Prepare Your Design for Cutting
Ungroup Elements (if necessary): If your SVG file contains multiple elements, you might need to ungroup them. Select the design, right-click, and choose “Ungroup.”
Attach or Weld Elements: If your design has multiple parts that need to stay together, use the “Attach” or “Weld” functions to ensure they cut as a single piece.
Step 9: Select Your Material and Load Your Mat
Choose Material: Click on the “Make It” button in the top right corner. Select the type of material you’ll be cutting, such as vinyl, cardstock, or iron-on.
Prepare Cutting Mat: Place your material on the cutting mat, aligning it according to the on-screen instructions.
Load Mat into Cricut: Insert the cutting mat into your Cricut machine and press the “Load/Unload” button.
Step 10: Cut Your Design
Adjust Cut Settings: Select the appropriate cut settings for your material. Cricut Design Space usually suggests the best settings, but you can manually adjust them if needed.
Start Cutting: Press the “Go” button on your Cricut machine to start cutting your design.
Step 11: Assemble Your Project
After your Cricut machine has finished cutting, carefully remove the material from the cutting mat. Weed out any excess material, then use transfer tape if needed to apply your design to your project surface.
Conclusion: Uploading SVG files to Cricut Design Space is a straightforward process that opens up endless possibilities for your crafting projects. By following these simple steps, you can easily add custom designs to your Cricut projects and bring your creative visions to life. Don’t forget to explore our collection of glass can wrap SVGs and other designs to get started on your next project. Happy crafting!


